
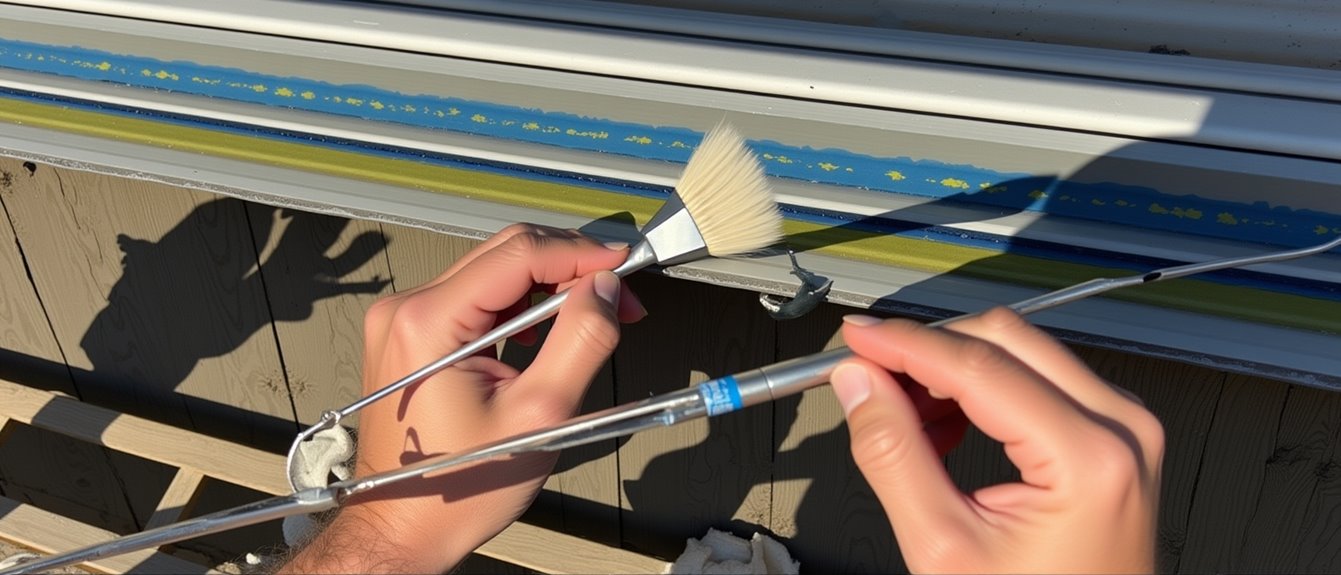
Summary: Painting gutters involves cleaning, sanding, repairing, priming, and applying two coats of exterior acrylic paint, then letting it cure for at least 24 hours. Proper prep and material-specific primers extend gutter life and improve curb appeal, though results vary by material and require touch-ups every few years.
You can refresh gutters in a weekend by cleaning them with a pressure washer or stiff brush, drying thoroughly, then sanding with 240-grit to promote adhesion. Repair dents or holes with exterior filler, mask nearby surfaces, and apply a compatible bonding primer, use metal primer for steel, specialty primer for vinyl. Paint with exterior acrylic using a brush, roller, or sprayer, allow 24 hours to cure, and plan inspections and touch-ups. Keep going to learn pro tips and pricing.
Highlights
- Clean gutters thoroughly, remove debris, and let them dry completely before any painting.
- Sand surfaces with 240-grit sandpaper and repair dents or holes with exterior filler.
- Mask nearby siding, plants, and downspouts with painter’s tape and drop cloths.
- Apply a high-quality bonding or metal primer appropriate to the gutter material.
- Paint with exterior-grade acrylic paint using brush for edges and roller for flats; allow 24 hours to cure.
Quick How-To: Paint Gutters in 6 Steps
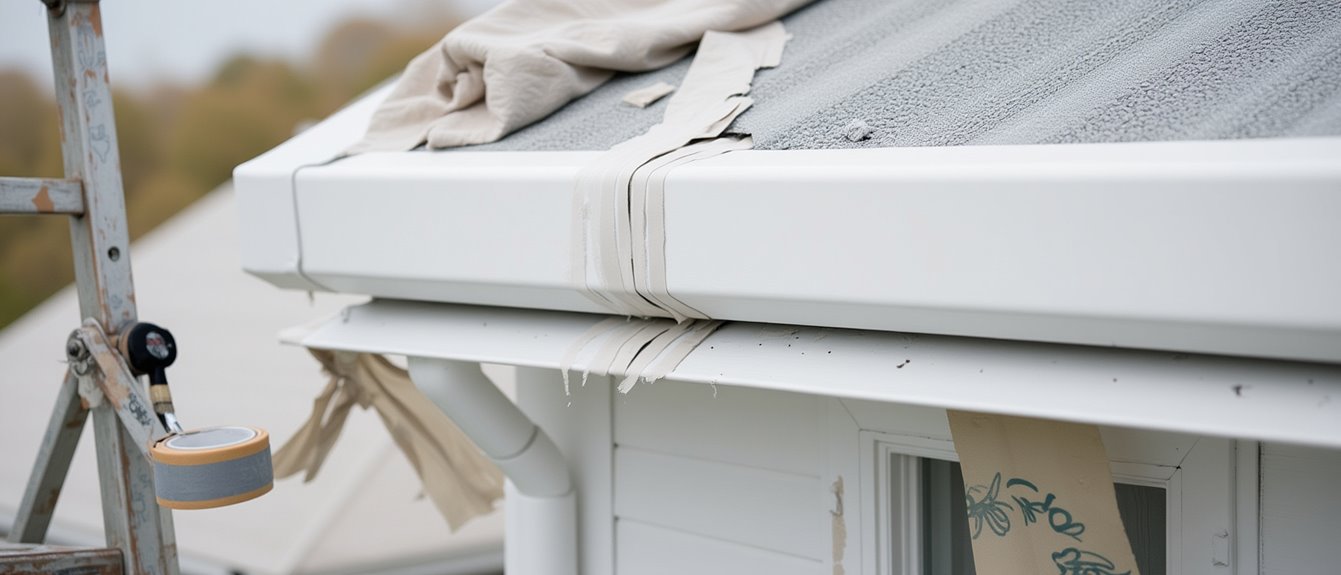
Start by getting the gutters completely clean and dry: use a pressure washer or a stiff brush with soapy water to remove dirt, debris, and mildew, then let everything dry before you move on to sanding and repairs.
Next, sand and repair: smooth surfaces with 240-grit sandpaper and fill dents or holes with exterior filler, letting repairs cure fully. This thorough preparation ensures proper adhesion.
Third, apply a bonding primer formulated for metal or vinyl; follow manufacturer times and allow to dry completely.
Fourth and fifth, paint the gutters with high-quality acrylic exterior paint, using thin, even coats and letting each coat dry before applying the next.
Finally, let the paint cure at least 24 hours for a durable finish. This step-by-step guide keeps results reliable.
For homeowners who prefer to leave the work to the pros, call (949) 213-3332 to get a free estimate and schedule a professional gutter painting or inspection service.
Why Paint Gutters : Benefits and When It’s Worth It
After you’ve cleaned, sanded, and primed, consider why painting the gutters is worth the effort: a proper paint job adds a protective barrier that slows rust and corrosion, often extending gutter life by up to a decade, while matching or updating the color boosts curb appeal and can raise your home’s perceived value.
Painting is a cost-effective maintenance choice that delays full replacement and prevents leaks and structural damage. With proper preparation and the right products, a quality finish delivers 3-5 years of durability before recoat. You’ll reduce long-term repair bills and keep water flowing correctly.
If you are unsure whether painting or replacing is the right move for your home, Newport Beach Gutters can assess your current system and recommend the most cost-effective solution.
Choose paint and techniques that prioritize rust protection and adhesion; when you want both aesthetic improvement and extending lifespan, painting gutters is practical and strategic. Additionally, regular maintenance, such as gutter cleaning services, can further enhance the longevity and effectiveness of your painted gutters.
What Gutters You Can Paint (Aluminum, Vinyl, Steel, Copper)
Gutters come in several common materials, and knowing which you can paint, and what prep each requires, lets you plan the job efficiently.
Aluminum gutters are ideal: they resist rust and accept acrylic latex after proper preparation, offering adhesion and durability when you use paint designed for metal.
Vinyl gutters can be painted too, but they demand a specialty primer to overcome the slick surface.
Steel gutters will need a metal primer to stop rust first, so they’re less forgiving for DIYers without the right materials.
Copper gutters are rarely painted; they develop a patina many homeowners prefer.
Seamless gutters simplify the process since fewer joints need attention. Additionally, using custom-fit seamless gutters can provide optimal protection and reduce maintenance efforts.
When you work with a trusted gutter company in Newport Beach, you can get expert guidance on which gutter material best suits your home's architecture and local climate conditions.
| Material | Paintable | Prep Needed |
|---|---|---|
| Aluminum | Yes | Standard prep, metal-friendly paint |
| Vinyl | Yes | Specialty primer for slick surface |
| Steel | Yes | Metal primer to stop rust first |
| Copper | Rarely | Patina usually preferred instead |
Gutter Painting Tools, Primers & Paints
Preparation matters: gather quality brushes, a small roller with a smooth nap, paint trays, a 240-grit sandpaper and a sturdy scraper, plus drop cloths and painter’s tape, because the right tools and protective gear make the job faster and neater.
You’ll use gutter painting tools efficiently when you choose materials suited to metal or vinyl.
- Brush for edges
- Roller for flats
- Tray and liner for clean work
- Scraper and sandpaper for dulling gloss
For primer selection pick a high-quality bonding primer formulated for the substrate, clear acrylic bonding primer works well on aluminum.
Select exterior-grade, acrylic-based paints designed for metal; avoid regular house paints.
Prep Work: Cleaning, Sanding, Repairs, and Masking
Start by thoroughly cleaning every section so you’re not sealing dirt or mildew under the paint; use a stiff brush and a non-abrasive cleaner to remove debris, rinse well, and let the gutters dry completely.
After cleaning, inspect the surface for corrosion, dents, or holes. Sand rough spots with sandpaper or a wire brush to promote paint adhesion and create a uniform profile for primer.
Make any repairs using exterior-grade filler, smooth it, and let it cure fully, moisture or uncured filler will compromise adhesion.
Masking comes next: apply painter’s tape and drop cloths to protect surrounding trim, siding, and landscaping from drips or overspray. Regular gutter cleaning is essential for durable gutter maintenance and a professional finish.
Gutter Painting: Prime, Paint, and Application Tips (Brush, Roller, Sprayer)
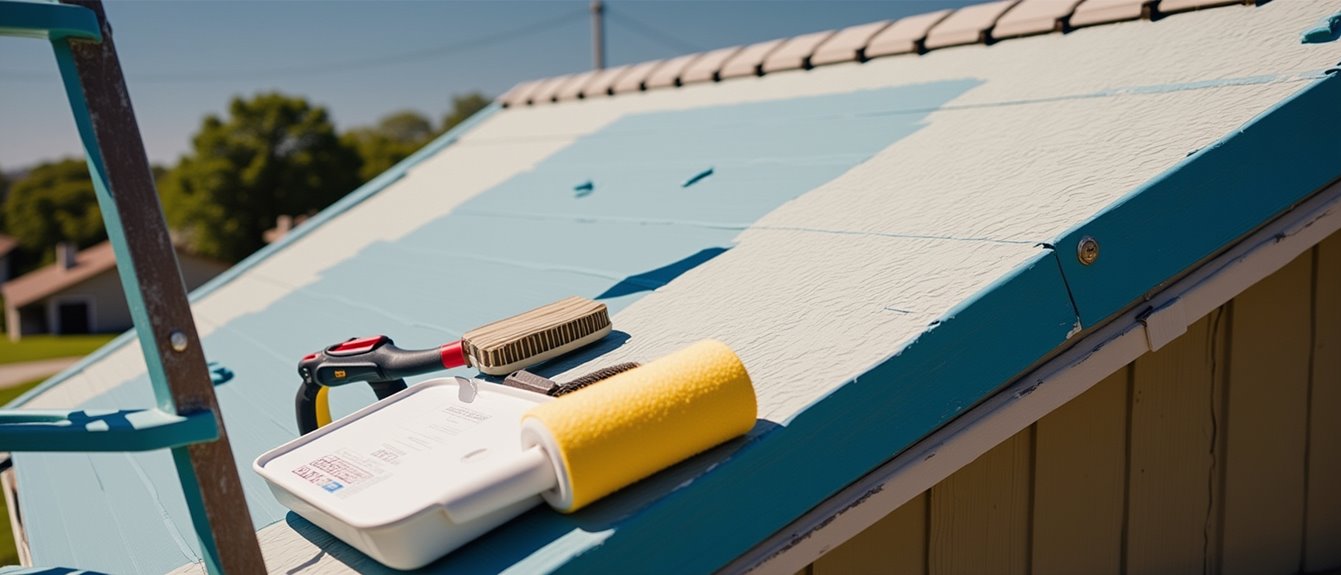
Choose a bonding primer made for metal or vinyl and apply it evenly before painting; this ensures adhesion and prevents peeling.
You’ll prime all cleaned, sanded surfaces with a bonding primer, letting it cure per instructions. Select exterior-grade acrylic paint for durability and weather resistance.
- Visualize using a brush to cut edges and tight joints.
- Picture a roller covering long, flat runs for consistent laydown.
- Imagine a sprayer producing the most uniform, fast coat on accessible sections.
- Envision thin coats applied in sequence, each fully dry before the next.
Match application methods to access and condition, work in ideal weather conditions (50-85°F, dry, overcast), and keep coats thin to avoid drips and ensure a smooth, long-lasting finish.
Aftercare & Business: Curing, Inspections, Touch-Ups, Pricing and Packages
Once the paint's dry and you've cleaned up your tools, plan for proper curing and ongoing care to protect that finish. Allow at least 24 hours before exposing gutters to rain or extreme conditions so the protective finish bonds and paint quality holds.
Schedule annual inspections to check for chips, peeling, or rust; document findings and address issues immediately. Expect touch-ups every 3-5 years depending on exterior exposure and material.
For business planning, calculate pricing to cover materials, labor, and potential repairs; be transparent about scope and contingencies.
Create packages that bundle gutter painting with cleaning, caulking, or routine maintenance to increase value and simplify customer decisions while protecting long-term performance. Additionally, consider offering gutter repair services to address any existing issues that could impact the painted finish.
Frequently Asked Questions
What Is the Best Way to Paint Gutters?
Use acrylic latex paint on clean, dry gutters: scrub or pressure-wash, apply a bonding primer, then two thin even coats, letting each dry. Paint on mild, dry days (50-85°F) for best adhesion and durability.
How to Prime Gutters Before Painting?
You should clean, dry, and sand any rust or imperfections, then apply a metal- or plastic-specific bonding primer in thin, even coats, letting each coat fully dry per manufacturer's instructions for durable adhesion before painting.
Do Gutters Need to Be Sanded Before Painting?
Yes, you should sand gutters. Don't expect paint to cling to grimy, rusty, or slick surfaces; you’ll scuff or strip them with 240-grit or a wire brush, clean thoroughly, then prime for a durable, professional finish.
How Many Coats of Paint on Gutters?
You should apply two coats: first a high-quality bonding primer, then an exterior-grade acrylic topcoat formulated for gutters. Let each coat fully dry between applications, ensuring adhesion and weather resistance for long-lasting results.